Tried the Chalkboard Technique and really loved it!!
So thought this would be great to do as my first tutorial.
So here goes....
The items needed:
Black Card Stock
Embossing Ink
White Ink
Embossing Powder
Heating Tool
Stamps
Cut down the card stock to desired size.
Use the Embossing ink pad with your stamp just like you would with regular ink.
After stamping, pour the embossing powder over the stamped image liberally
use a tupperware dish or some kind of container to discard the left over.
Depending on the detail of your stamp you may want to repeat the this step
a few times until you get the definition of the stamp that you want. The leftover
embossing powder can be put back in the container and be reused.
The stamps I used were made by craft smart.
Use the heat tool and in a circular motion go over the stamped images.
Caution be careful as this tool does get really HOT! :) You will see that the
embossing powder will start to melt and form more a solid image. Once the images
are solid and no powder is visible, stop and let the project cool.
After the project has cooled, use white ink and sponge to make it
look like a chalk board that has be written on and erased several times.
Tap the sponge into the ink pad and lightly rub sponge onto the project in
random places. You will get the sense of how much ink to use and how hard to press.
NOTE: I recommend practicing first on a scrap piece of paper before hand.
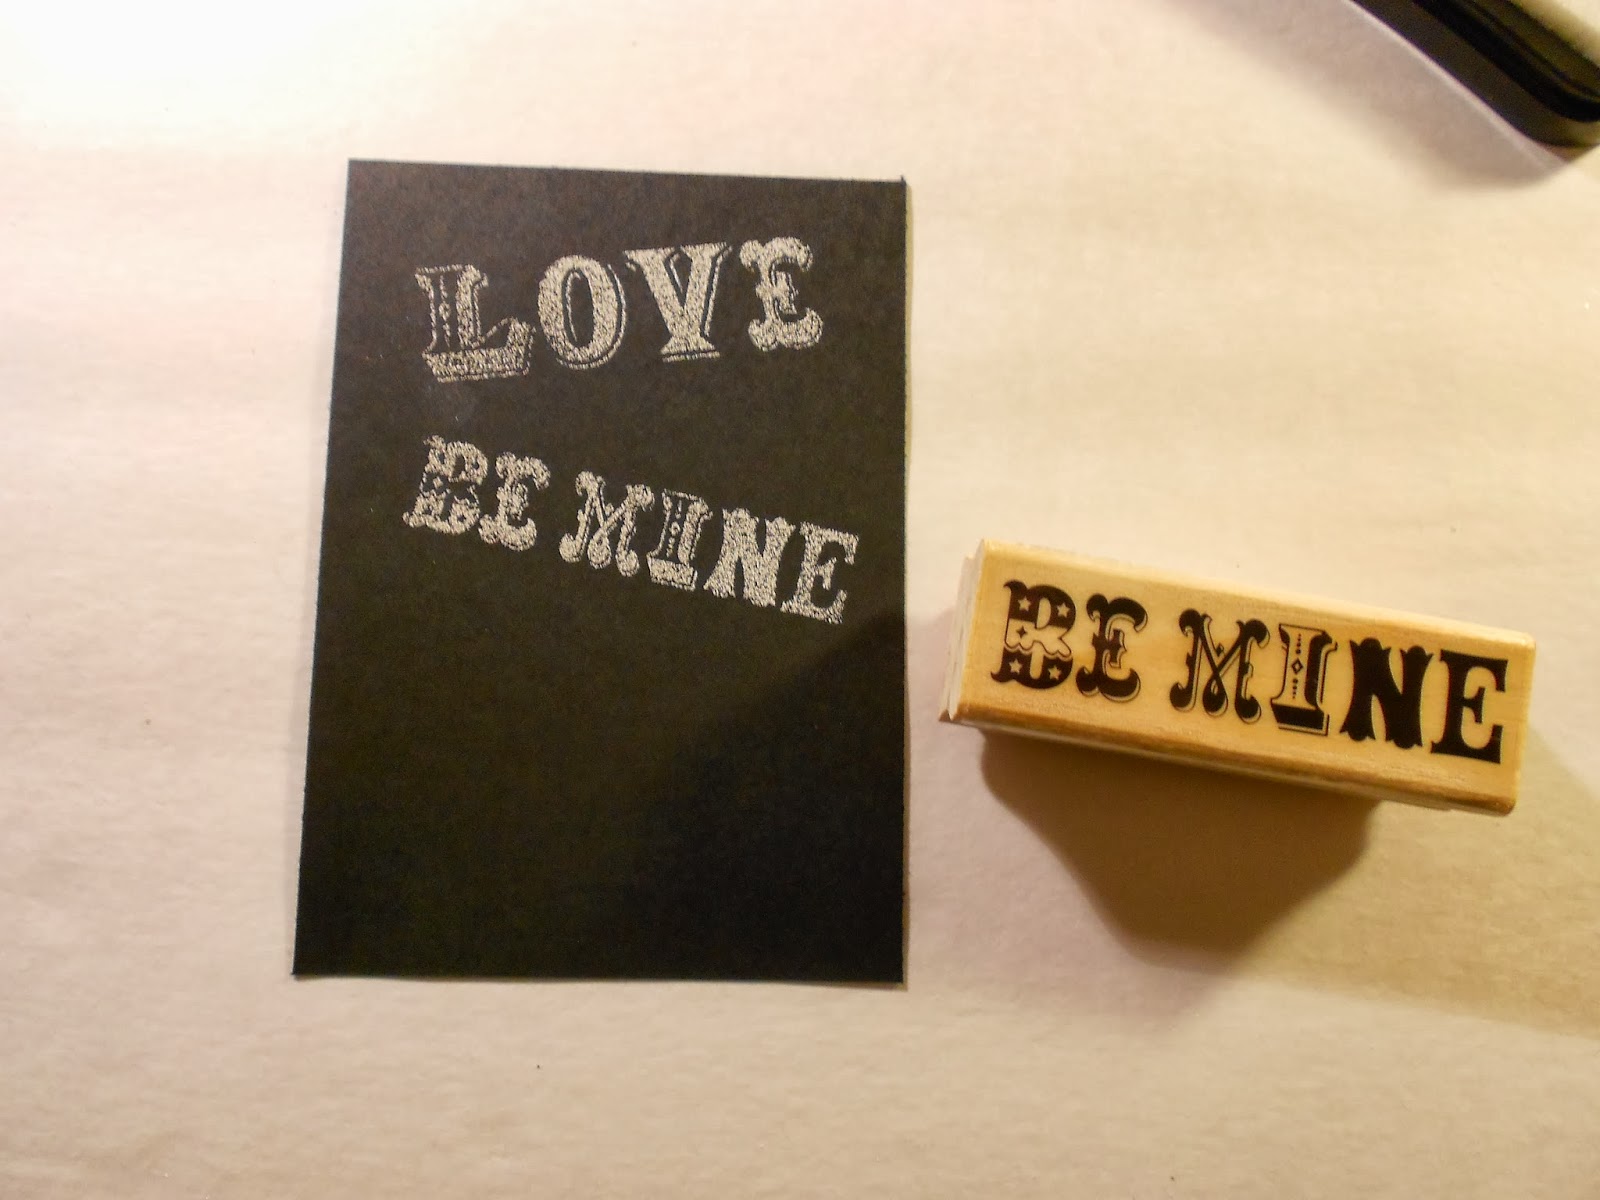
The finished product!
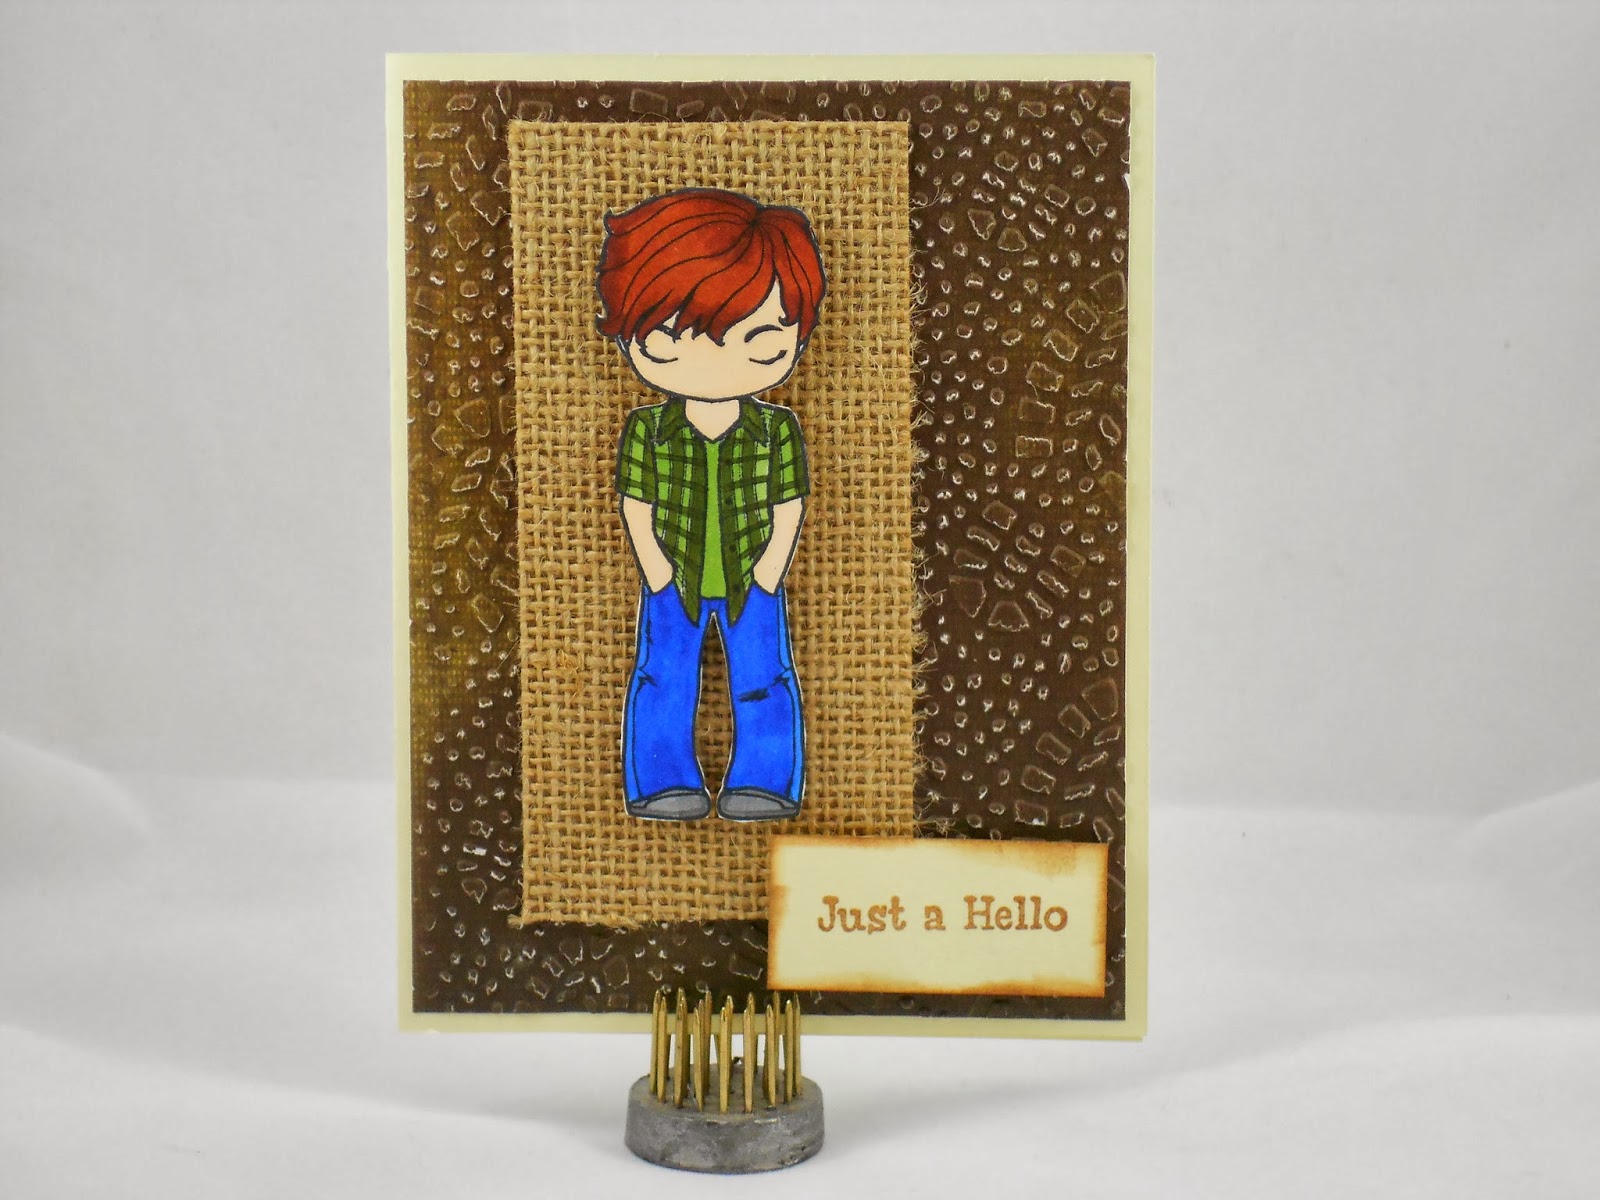
Here are some cards using this technique:
Hope you enjoyed this tutorial, please feel free to
leave comments or feedback to make the future ones even better!